
The One-Stock Habit That Transforms Leftover Scraps into Flavor
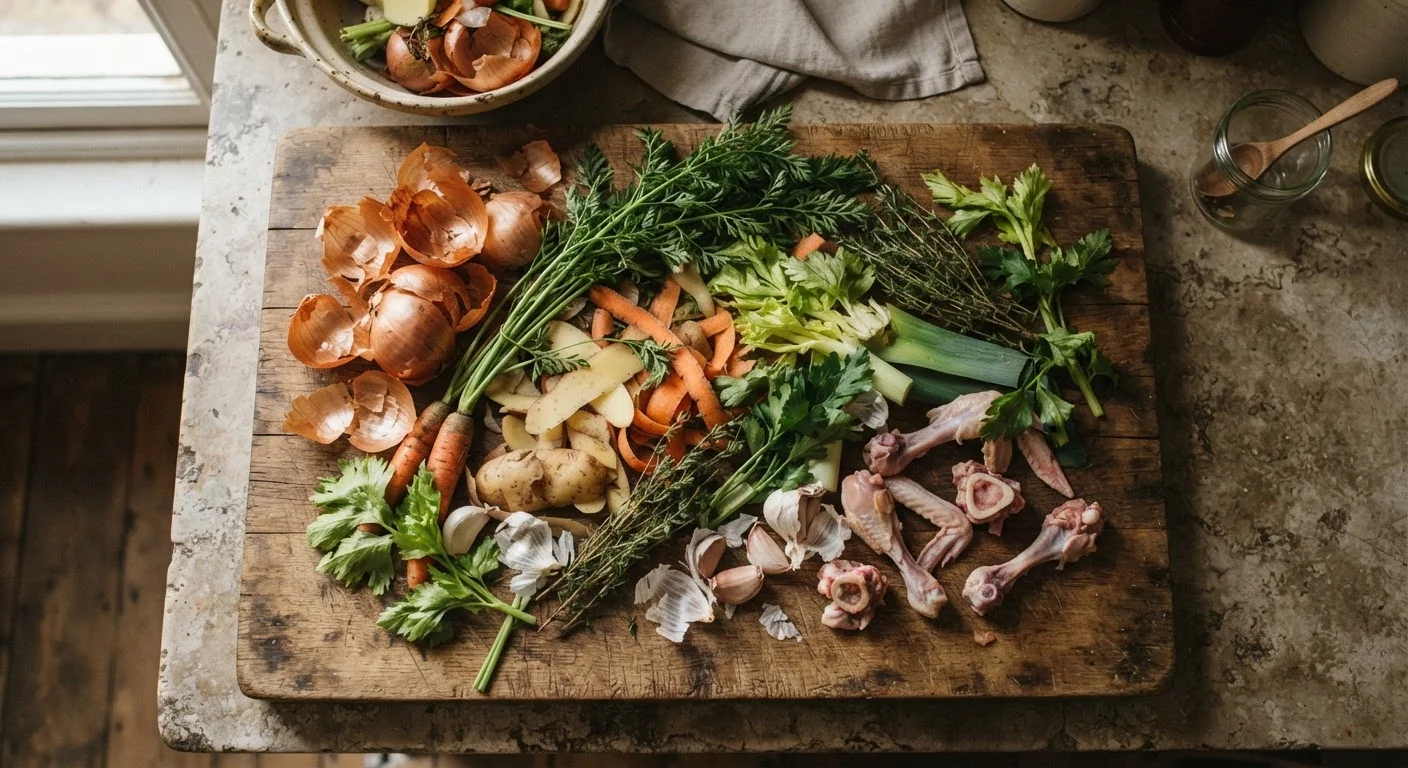
Photo credit: thetastyliving.com
In this article
Vegetable peels, chicken bones, and herb stems can all become rich, homemade stock. Here is a simple system for collecting and using them every week.
Key Takeaways
- Vegetable peels, herb stems, and cooked bones can all produce flavorful homemade stock at no extra cost.
- A dedicated freezer bag for collecting scraps makes the habit low-effort and sustainable week to week.
- Homemade stock improves soups, grains, sauces, and braised dishes without added sodium or preservatives.
- Most scraps take under 2 hours of simmering to yield a usable, versatile stock.
- Storing stock in measured portions saves time and reduces waste during weeknight cooking.
Why scraps belong in a pot, not the trash
Every time you peel a carrot, trim a celery stalk, or pull the meat from a rotisserie chicken, you discard a small amount of flavor. One or two scraps barely matter. Over the course of a week, though, those scraps add up to enough raw material for a full batch of stock that would otherwise cost several dollars at the grocery store.
Homemade stock does more than save money. It lets you control salt levels, avoid the starchy thickeners common in commercial stocks, and adjust flavor to match what you are actually cooking. A stock made from roasted vegetable trimmings tastes different from one made with raw peels, and both are useful in different dishes. Once you build the collection habit, the stock itself requires almost no active effort.
For other ways to make existing ingredients do more work, see how prep habits reduce waste and cost and kitchen organization habits that cut food waste.
Start simple, then expand
If the habit feels complicated at first, begin with just one type of scrap: onion skins, carrot peels, and celery ends. These three alone produce a useful, neutral stock. Once the collection routine feels natural, you can start adding herb stems, mushroom scraps, and bones. Building the habit gradually makes it stick.
What to collect and what to skip
Not every scrap improves stock. The goal is to collect trimmings that add depth without bitterness or off-flavors.
Good candidates: onion skins and root ends, carrot peels and tops, celery leaves and base ends, leek tops, garlic skins, parsley stems, thyme sprigs, bay leaves, mushroom stems, corn cobs, and cooked or raw chicken bones, backs, and necks. Parmesan rinds can go into vegetable stock for extra savory depth.
Skip or limit: cruciferous vegetables such as broccoli, cauliflower, and cabbage can make stock bitter and sulfurous. Beet scraps will turn everything deep red. Starchy potato peels cloud the liquid. Very strong herbs like rosemary can overpower if added in large quantities.
A good general rule: if it tastes pleasant on its own, it will contribute something useful to stock. If it is aggressively pungent or one-dimensional, hold back.
How to make stock from your collected scraps
The process has two phases: building your scrap collection over several days, then converting it into stock in one session. Here is the full workflow.
What you will need
Set up a dedicated scrap bag in the freezer
Place a large zip-top freezer bag in your freezer with a label and the date. As you cook each day, drop clean vegetable peels, herb stems, onion skins, and similar trimmings directly into the bag. Keep cooked bones in a separate bag if you plan to make chicken stock alongside a vegetable batch.
Fill the bag over three to five days
Most families accumulate enough scraps for a full pot within three to five days of normal cooking. A bag is ready when it is about two-thirds to three-quarters full, which translates roughly to 4 to 6 cups of packed scraps. There is no need to wait longer than a week, since freezer burn can affect delicate aromatics.
Add the scraps to a pot with cold water
Empty the scrap bag into a large stockpot. Cover with cold water by about 2 inches, which is typically 8 to 12 cups depending on your scrap volume. Starting with cold water allows proteins and starches to release gradually, producing a clearer, cleaner-tasting stock.
Simmer, do not boil
Bring the pot to a gentle simmer over medium heat, then reduce to low. Maintain a temperature where small bubbles occasionally rise but the surface does not roll. Vegetable stock is ready in 45 to 60 minutes. Chicken bone stock benefits from 90 minutes to 2 hours. A hard boil makes stock cloudy and can produce bitter flavors from over-extracted solids.
Strain and cool the stock
Set a fine-mesh strainer over a large bowl or second pot and pour the stock through slowly. Discard the spent solids. Let the stock cool at room temperature for 30 minutes, then transfer to the refrigerator uncovered until fully cold (roughly 2 hours). Skim any fat that solidifies on the surface before storing.
Portion and store for use throughout the week
Pour cooled stock into ice cube trays for small measured portions (about 2 tablespoons each) or into 1-cup or 2-cup Mason jars for larger use. Frozen cubes keep for up to 3 months. Refrigerated stock keeps for 4 to 5 days. Label each container with the date and type of stock.
Once you have finished stock, it pairs well with pantry staples that become dinner and the flavor principles in salt, acid, fat, and heat to build better weeknight meals without extra grocery trips.

Author
Kitchen Tips & Tricks Editorial Team
Kitchen Tips & Tricks Editorial Team is the collective byline for our editorial team and contributor network. Articles published under this byline or an editorial pen name are researched, written, and reviewed according to our editorial standards for clarity, consistency, and independence before publication.
View all articles →